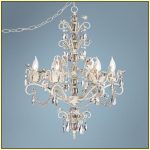
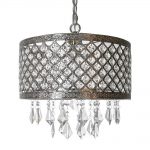
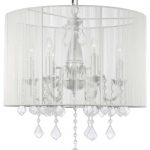
If you’re looking to add a touch of elegance and glamour to your home, a plug-in chandelier can be the perfect addition. With its cascading crystals and soft, ambient lighting, a chandelier can instantly transform any room into a sophisticated and luxurious space. And the best part? Installing a plug-in chandelier is easier than you might think. Follow these step-by-step instructions to easily install a plug-in chandelier in your home:
1. Choose the perfect location: Before you start installing your chandelier, decide on the perfect location for it. Consider the size of your room, the height of your ceiling, and the layout of your furniture to determine where the chandelier will have the most impact.
2. Gather your materials: To install a plug-in chandelier, you’ll need a few basic tools and materials. These include a ladder, a screwdriver, a wire stripper, wire connectors, and a plug-in chandelier kit, which usually includes the chandelier itself, a chain or cord, and a plug-in cord.
3. Turn off the power: Before you begin any electrical work, be sure to turn off the power to the room where you’ll be installing the chandelier. You can do this by flipping the circuit breaker or turning off the light switch.
4. Install the mounting bracket: Use a screwdriver to attach the mounting bracket to the ceiling where you want the chandelier to hang. Make sure the bracket is securely attached and can support the weight of the chandelier.
5. Attach the chandelier: Hang the chandelier from the mounting bracket using the chain or cord provided in the kit. Adjust the length of the chain or cord as needed to position the chandelier at the desired height.
6. Wire the chandelier: Use a wire stripper to remove the insulation from the ends of the chandelier wires. Connect the chandelier wires to the corresponding wires in the plug-in cord using wire connectors. Make sure the connections are secure and insulated.
7. Plug in and test the chandelier: Once you’ve wired the chandelier, plug in the cord and test the chandelier to ensure it’s working properly. If everything looks good, adjust the chain or cord to position the chandelier at the perfect height.
8. Enjoy your new chandelier: Sit back and admire your handiwork as your new plug-in chandelier adds a touch of elegance to your home. Invite friends and family over to show off your stylish new lighting fixture.
In just a few simple steps, you can easily install a plug-in chandelier and elevate the ambiance of any room in your home. With its sparkling crystals and soft, ambient glow, a chandelier is sure to make a statement and become the focal point of your decor. So don’t wait any longer – try installing a plug-in chandelier in your home today!
 darbylanefurniture.com Interior design ideas with the latest interior inspiration


