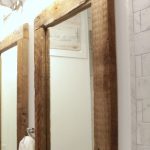
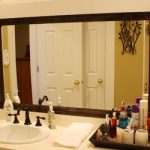
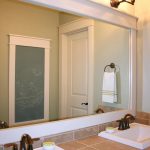
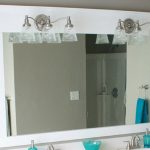
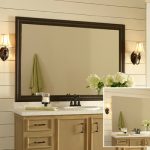
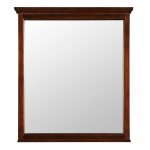
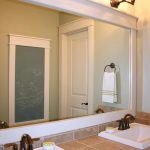
A framed bathroom mirror can add a touch of elegance and sophistication to any bathroom. Installing a framed mirror is a fairly simple project that can be completed in just a few easy steps. Here is a step-by-step guide on how to install a framed bathroom mirror:
1. Measure the space: Before you begin, measure the space where you want to hang the mirror to ensure that it will fit properly. Take into account the size of the mirror as well as the placement on the wall.
2. Gather your supplies: You will need a few tools and supplies to complete the installation. Make sure you have a pencil, level, measuring tape, wall anchors or screws, a drill, and a friend to help hold the mirror in place.
3. Prepare the wall: Use the measuring tape to mark the center of the wall where you want to hang the mirror. Use the level to ensure that your marks are straight and even.
4. Attach the hangers: Depending on the type of frame on your mirror, you may have mounting brackets or hooks on the back. Attach these to the mirror frame according to the manufacturer’s instructions.
5. Hang the mirror: With the help of your friend, hold the mirror up to the wall and line it up with your marks. Use the pencil to mark where the hangers will go on the wall.
6. Drill holes and insert anchors: Using a drill, carefully drill holes into the wall where you made your marks. Insert wall anchors into the holes to provide extra support for the mirror.
7. Secure the mirror: Once the anchors are in place, hang the mirror on the wall using the screws or hooks provided. Make sure the mirror is level and secure before letting go.
8. Add finishing touches: Once the mirror is securely in place, step back and admire your handiwork. You may want to add some decorative touches, such as hanging a pendant light above the mirror or placing some candles on the vanity.
Installing a framed bathroom mirror is a simple and rewarding project that can instantly elevate the look of your bathroom. Follow these steps and enjoy your beautiful new mirror for years to come!
 darbylanefurniture.com Interior design ideas with the latest interior inspiration

