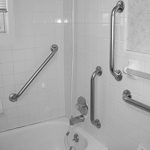
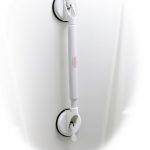
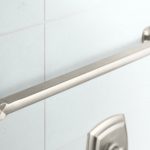
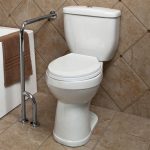
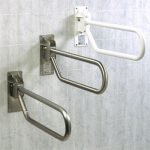
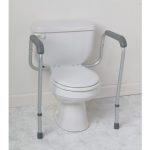
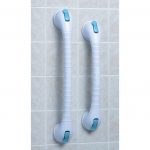
Bathroom grab bars are essential safety features for individuals with limited mobility or balance issues. These bars provide added support and stability for getting in and out of the shower or bathtub, using the toilet, and moving around the bathroom. Installing grab bars in your bathroom is a relatively simple and inexpensive project that can make a big difference in preventing slips and falls. In this step-by-step guide, we will walk you through the process of installing bathroom grab bars.
Step 1: Measure and Mark Placement The first step in installing grab bars is to determine the best placement for them. Grab bars should be installed at a height that is comfortable for the user to reach and provide support while standing or sitting. A good rule of thumb is to install grab bars 33-36 inches above the floor. Use a measuring tape to mark the desired location for the grab bars, making sure they are level.
Step 2: Locate Wall Studs Once you have marked the location for the grab bars, use a stud finder to locate the wall studs behind the drywall. It is important to anchor the grab bars securely to the studs to ensure they can support the weight of the user. Mark the location of the studs on the wall using a pencil.
Step 3: Drill Pilot Holes Next, use a drill with the appropriate size drill bit to drill pilot holes into the wall studs at the marked locations. The pilot holes will make it easier to insert the screws for mounting the grab bars.
Step 4: Attach Mounting Brackets With the pilot holes drilled, it is time to attach the mounting brackets to the wall. Place the mounting brackets over the pilot holes and insert the screws provided with the grab bars into the holes. Use a screwdriver or drill to tighten the screws and secure the mounting brackets to the wall studs.
Step 5: Install Grab Bars Once the mounting brackets are securely in place, it is time to install the grab bars. Slide the grab bars onto the mounting brackets and ensure they are positioned at the desired height and angle. Use the set screws provided with the grab bars to secure them in place.
Step 6: Test for Stability After installing the grab bars, test them for stability by applying pressure in different directions. Make sure the grab bars are securely mounted and can support the weight of the user without any movement or wobbling.
In conclusion, installing bathroom grab bars is a simple and straightforward process that can greatly improve safety in the bathroom. By following this step-by-step guide, you can easily install grab bars in your bathroom and provide added support for individuals with mobility issues. Remember to always consult a professional if you are unsure about the installation process or if you have any concerns about the safety of the grab bars.
 darbylanefurniture.com Interior design ideas with the latest interior inspiration


