 darbylanefurniture.com Interior design ideas with the latest interior inspiration

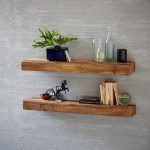
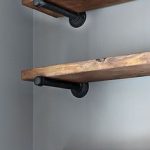
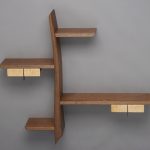
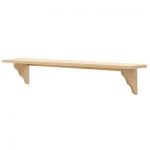
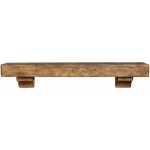
Whether you are a seasoned DIY enthusiast or just looking to spruce up your space with some custom shelving, creating your own wood shelves is a fun and rewarding project. Not only can you showcase your creativity and craftsmanship, but you can also customize the size, shape, and finish to perfectly match your space and style. If you are ready to take on this project, we have put together the ultimate guide to DIY wood shelves to help you get started.
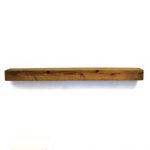
Materials Needed: – Wood boards (choose a type and size that best suits your project) – Wood screws or nails – Drill – Sandpaper – Wood stain or paint – Paintbrush or cloth – Level – Stud finder (if mounting shelves to walls) – Mounting hardware (if mounting shelves to walls)
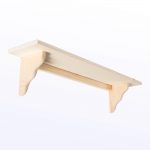
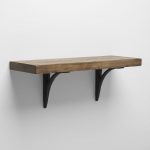
Steps to Follow: 1. Measure and cut your wood boards to your desired size. Make sure to take into consideration the depth and length of the shelves as well as the distance between each shelf. 2. Sand down the edges and surfaces of the wood boards to ensure a smooth finish. 3. If you want to stain or paint your shelves, now is the time to do so. Apply multiple coats and let dry completely before moving on to the next step. 4. Determine the placement of your shelves and mark where you want them to be installed. Use a level to ensure they are straight. 5. If mounting the shelves to walls, use a stud finder to locate the studs and then attach the shelves using wood screws or nails. Make sure they are securely fastened. 6. If freestanding, assemble the shelves by attaching the boards together using wood screws or nails. You can also add additional support underneath for added stability. 7. Once the shelves are installed or assembled, give them a final sanding and touch up any areas that need it. 8. Style your shelves with your favorite decor items, books, plants, or whatever else you want to display.
Tips and Tricks: – Choose a wood type that matches the style of your space. Popular choices include pine, oak, and cedar. – Consider adding a trim or decorative elements to the edges of the shelves for a custom look. – Use wood filler to fill in any gaps or imperfections in the wood before staining or painting. – If you are mounting shelves to walls, be sure to use the appropriate hardware for the weight and size of the shelves. – Experiment with different finishes to achieve the look you want, whether it be a natural wood finish, stain, or paint.
Creating your own wood shelves is a great way to add warmth and character to any room in your home. With this ultimate guide, you can confidently tackle this DIY project and enjoy the satisfaction of seeing your handmade shelves displayed in your space. Happy crafting!